
Set your global availability
Updated Jul 22, 2026
1 min read
Step 1: Open the Global Availability tab
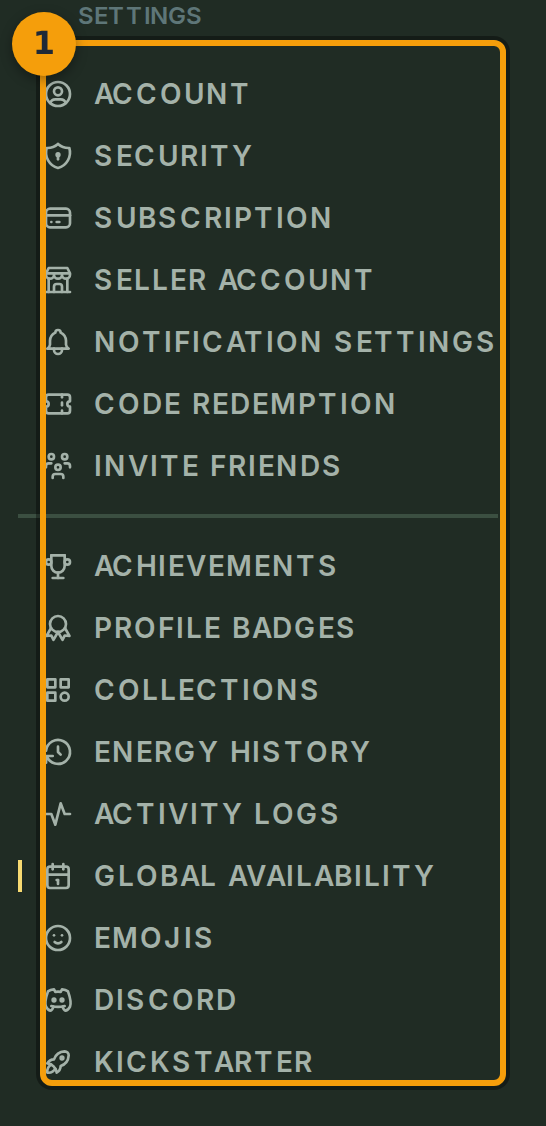
Go to your account page. In the sidebar tab bar (badge 1), select Global Availability. Each tab in this bar controls a separate group of account-level preferences.
Step 2: Confirm you are on the correct panel
Check the page heading (badge 2). It should read Global Availability.
The short description beneath the heading explains the purpose of this panel: it advertises the weekly windows when you are free to play, making it easier for other players and GMs to schedule sessions around you.

Step 3: Review your existing availability windows
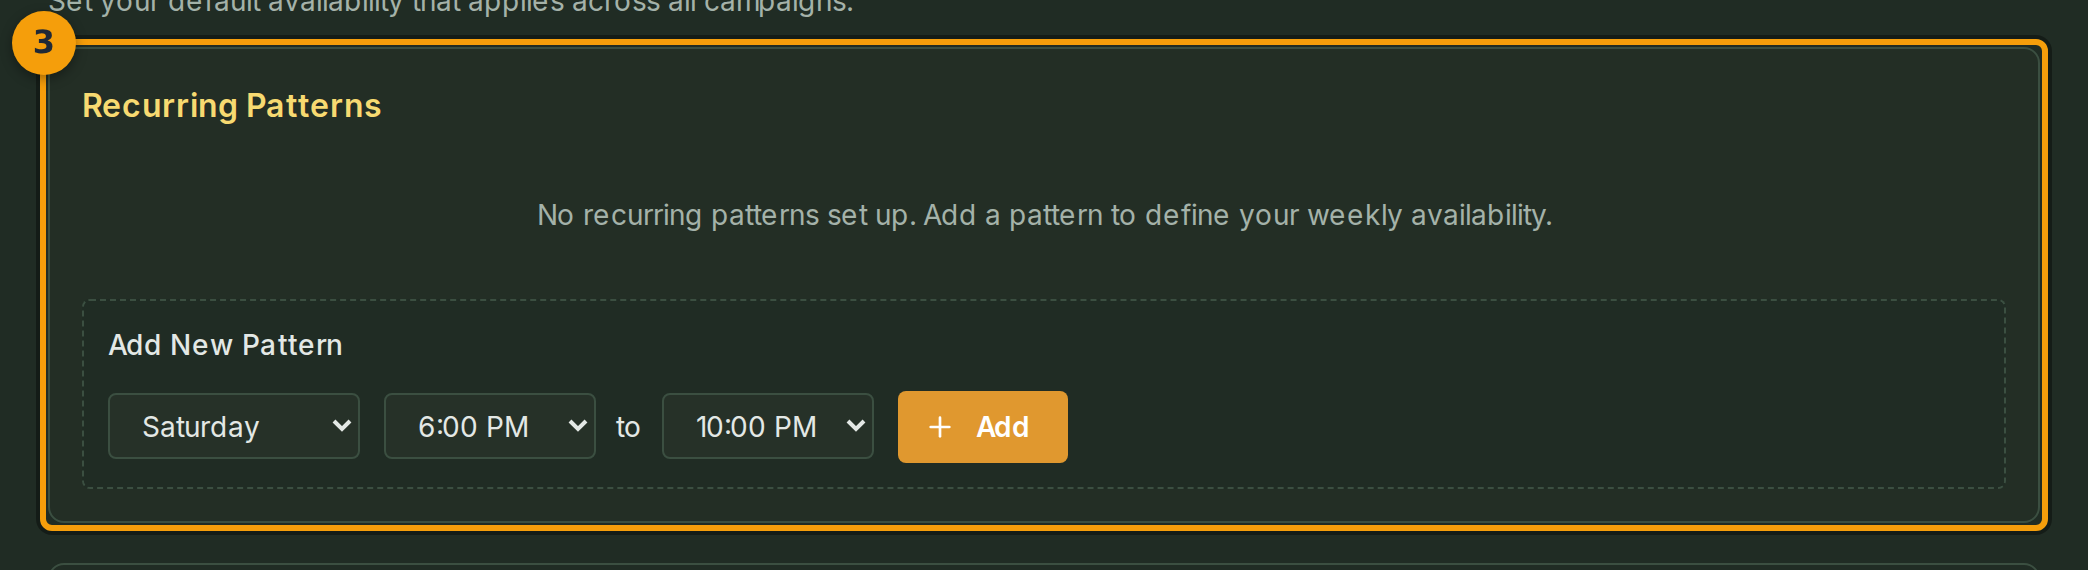
The patterns list (badge 3) shows every weekly window you have saved. Each row displays the day and time range, a toggle on the left to enable or disable that window without deleting it, and a trash icon on the right to remove it permanently.
If you have not added any windows yet, the list is empty. That is expected for a new account.
Step 4: Add a new weekly window
Use the add form (badge 4) below the patterns list. Select a day of the week, then choose a start time and an end time.
Click Add pattern to save the window. It appears immediately in the patterns list above and repeats every week until you delete it.
