Configure your notification preferences
Updated Jul 22, 2026
1 min read
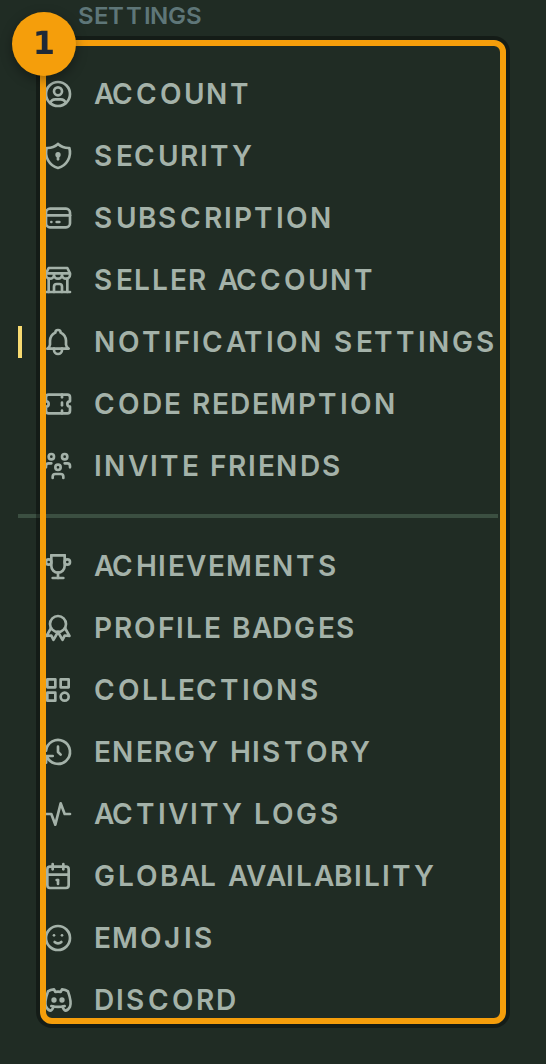
Step 1: Open Notification Settings from the account sidebar
Go to your Account page. On the left side, you will see a tab bar (badge 1) listing sections such as Account, Appearance, and Privacy Settings.
Select Notification Settings from that sidebar. Every account-level preference lives behind one of these tabs.
Step 2: Confirm you are on the Notification Settings panel
Check the page header (badge 2). It should read Notification Settings with a subtitle describing how Fabled uses these controls to determine which alerts to send you.
If you see a different heading, return to the sidebar and select Notification Settings again.

Step 3: Review the list of notification types
Scroll through the notification list (badge 3). Each row represents a single notification type.
There are no separate columns for email, in-app, or push. The toggle in each row turns that notification on or off across all channels Fabled uses to deliver it.

Step 4: Toggle your preferences and save
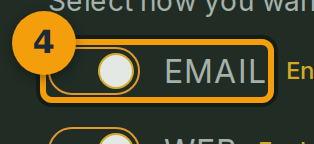
Each row (badge 4) shows the notification label and its current state, either Enabled or Disabled, next to the switch.
Flip any switches you want to change. When you are satisfied, click Save Notification Settings at the bottom of the panel to apply your choices.