Prepare a board before a session
Updated Jul 22, 2026
2 min read
Step 1: Open your campaign board
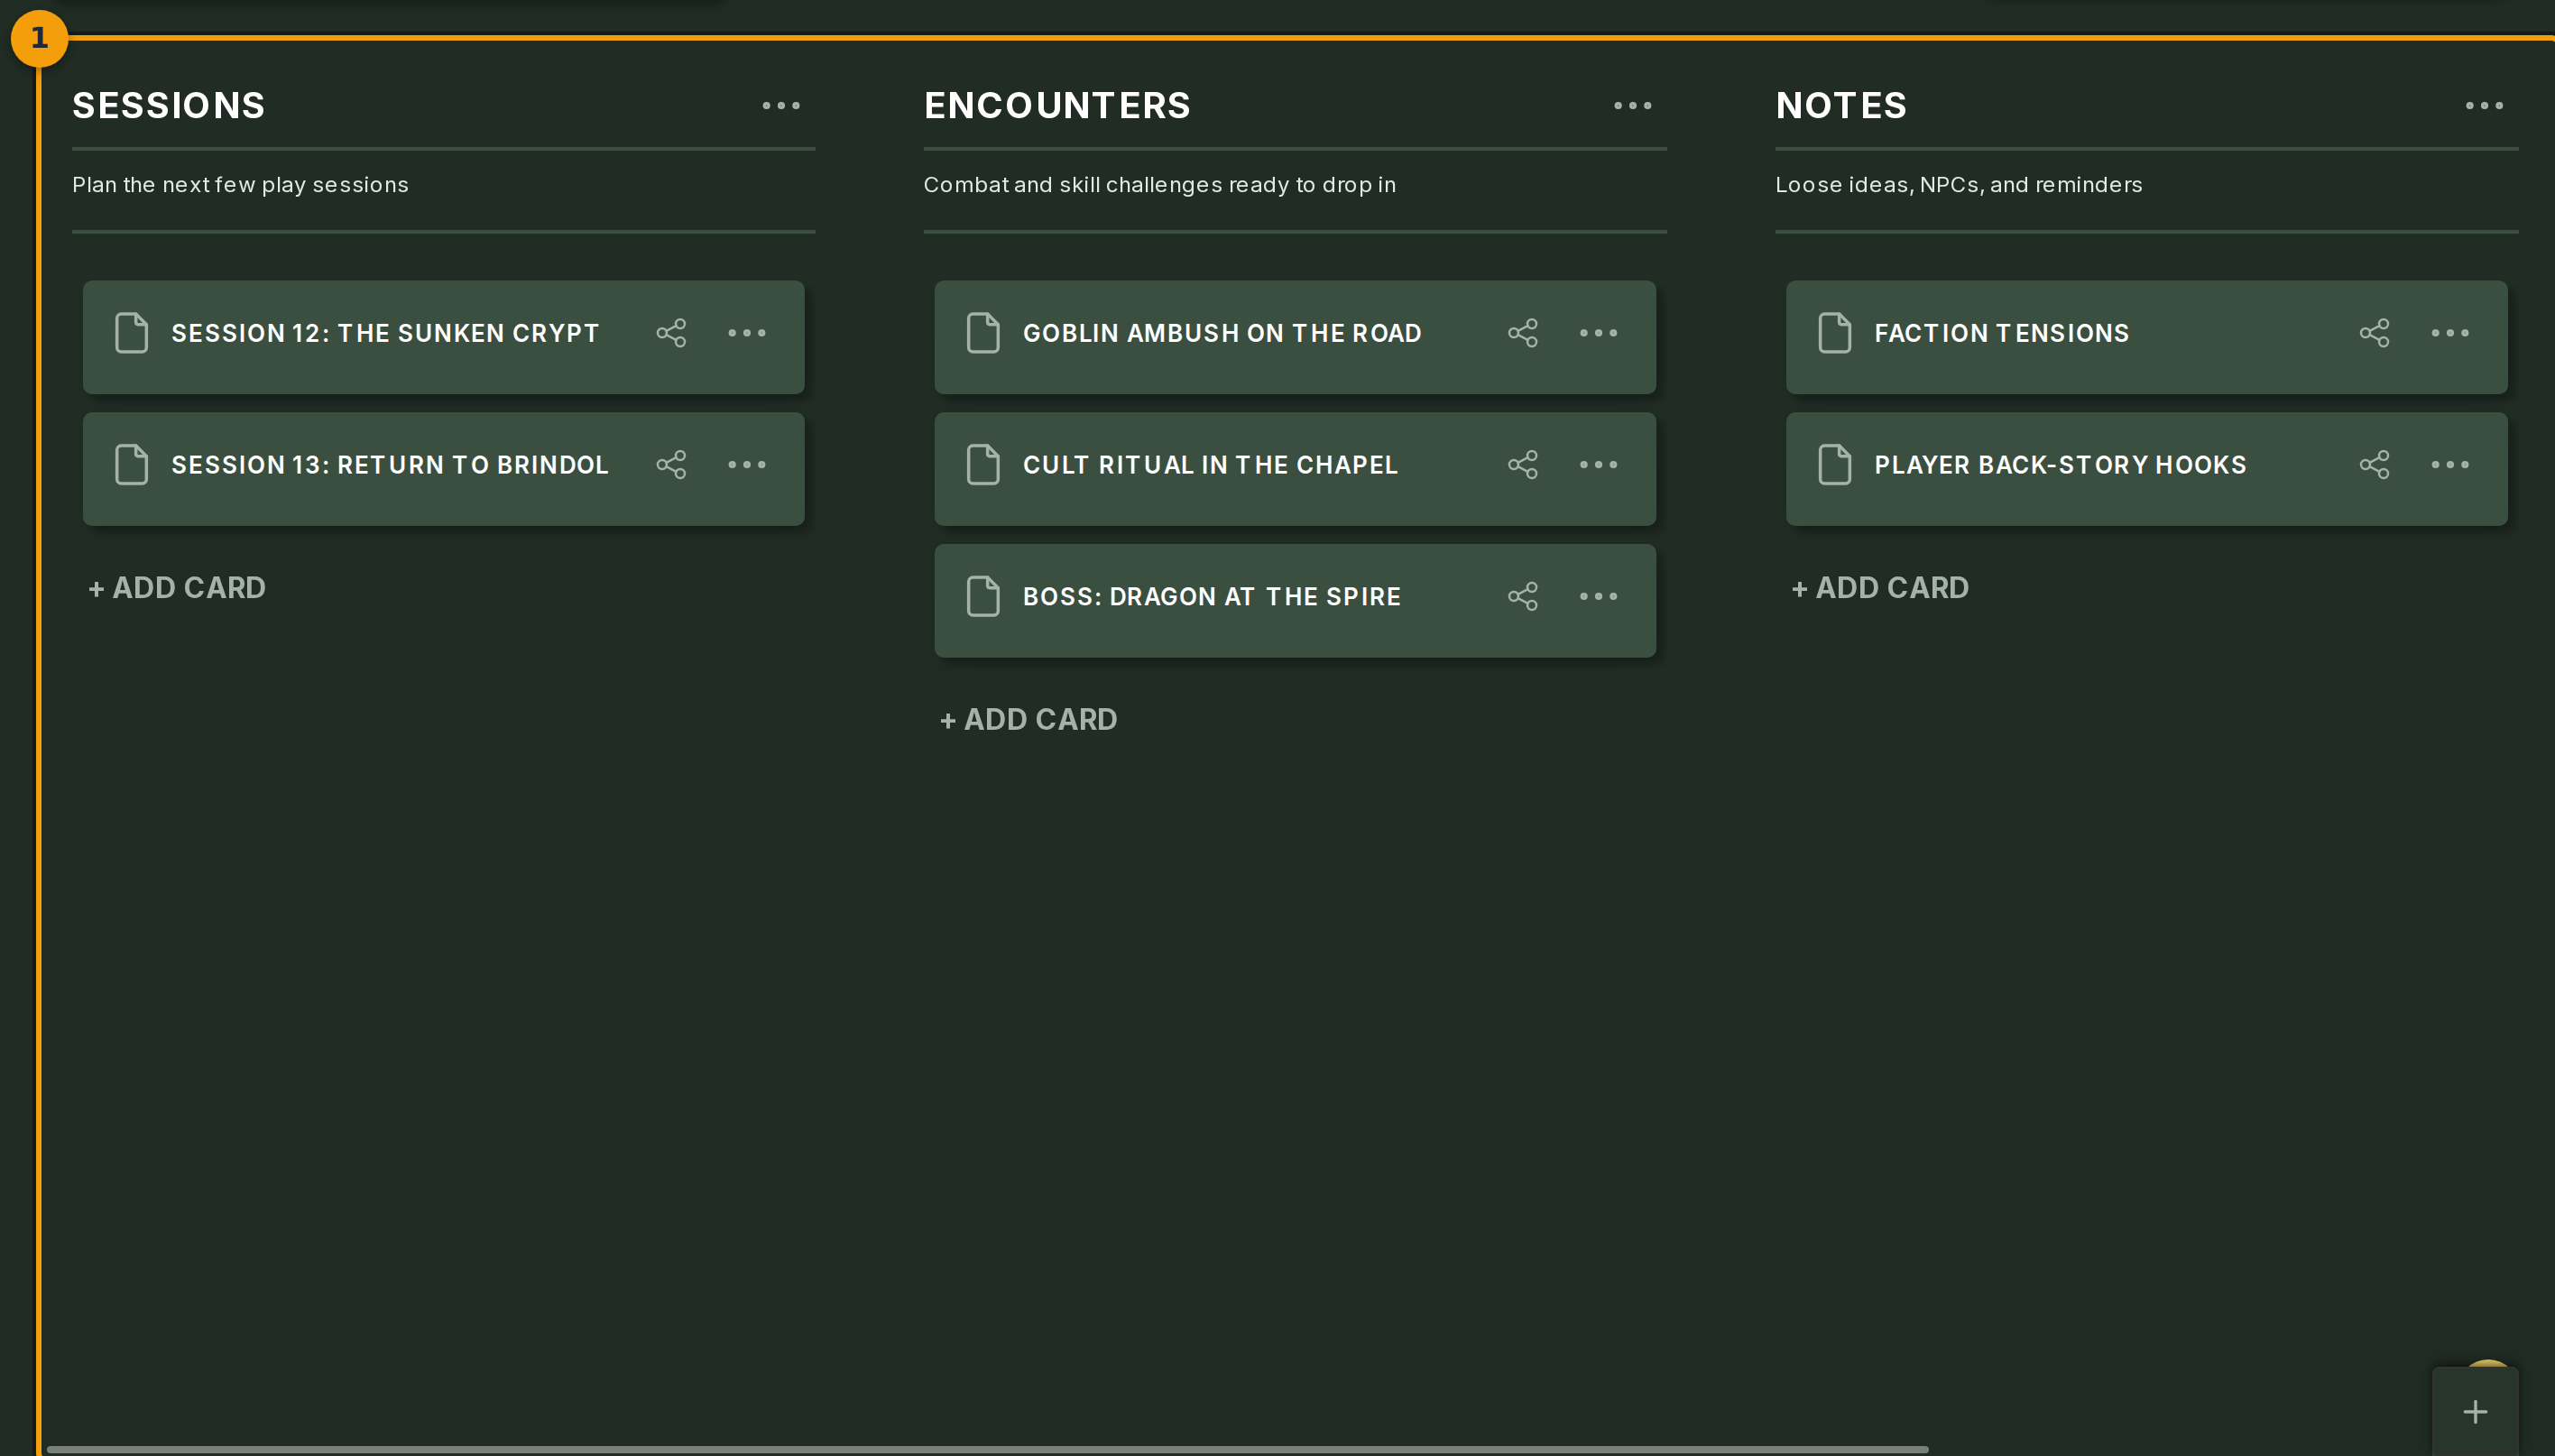
Open your campaign in The Forge, then click Sessions in the campaign menu (badge 1). The board opens as a 2D grid.
Drag with the cursor to pan around the canvas. Pinch or scroll to zoom in and out. You see your existing board cards here, or an empty canvas if no items have been added yet.
Step 2: Filter the canvas with search
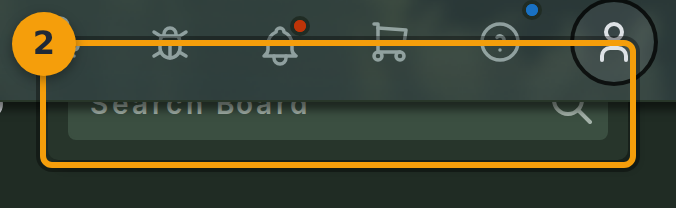
Click the Search Board input in the board header (badge 2) and type a keyword.
The canvas hides any cards that do not match. Use this when a campaign has many scenes or NPCs and you want to focus on just the ones relevant to tonight's session.
Step 3: Open board settings
Click Edit Board next to the board name (badge 3). A settings panel opens where you can rename the board, update its description, or delete it.
Every campaign starts with one default board. To create an additional board, for example one per arc or per session, open the campaign's content menu and add a new board from there.

Step 4: Quick-launch into the Virtual Tabletop
Click the rocket icon link in the board header (badge 4) to quick-launch the Virtual Tabletop.
Every item placed on the board is one click away inside the VTT. See the Run a live session guide for the next steps once the VTT opens.